[WIP] Using Pneumatics#
Check the air pressure
Overview#
This section will help you learn to program pneumatic for your robot. For this section we are going to create a new subsystem called shooter and add one pneumatic piston (cylinder) which will be used for changing the pitch of the shooter.
See table of contents for a breakdown of this section.
Background info#
What Are Pneumatics#
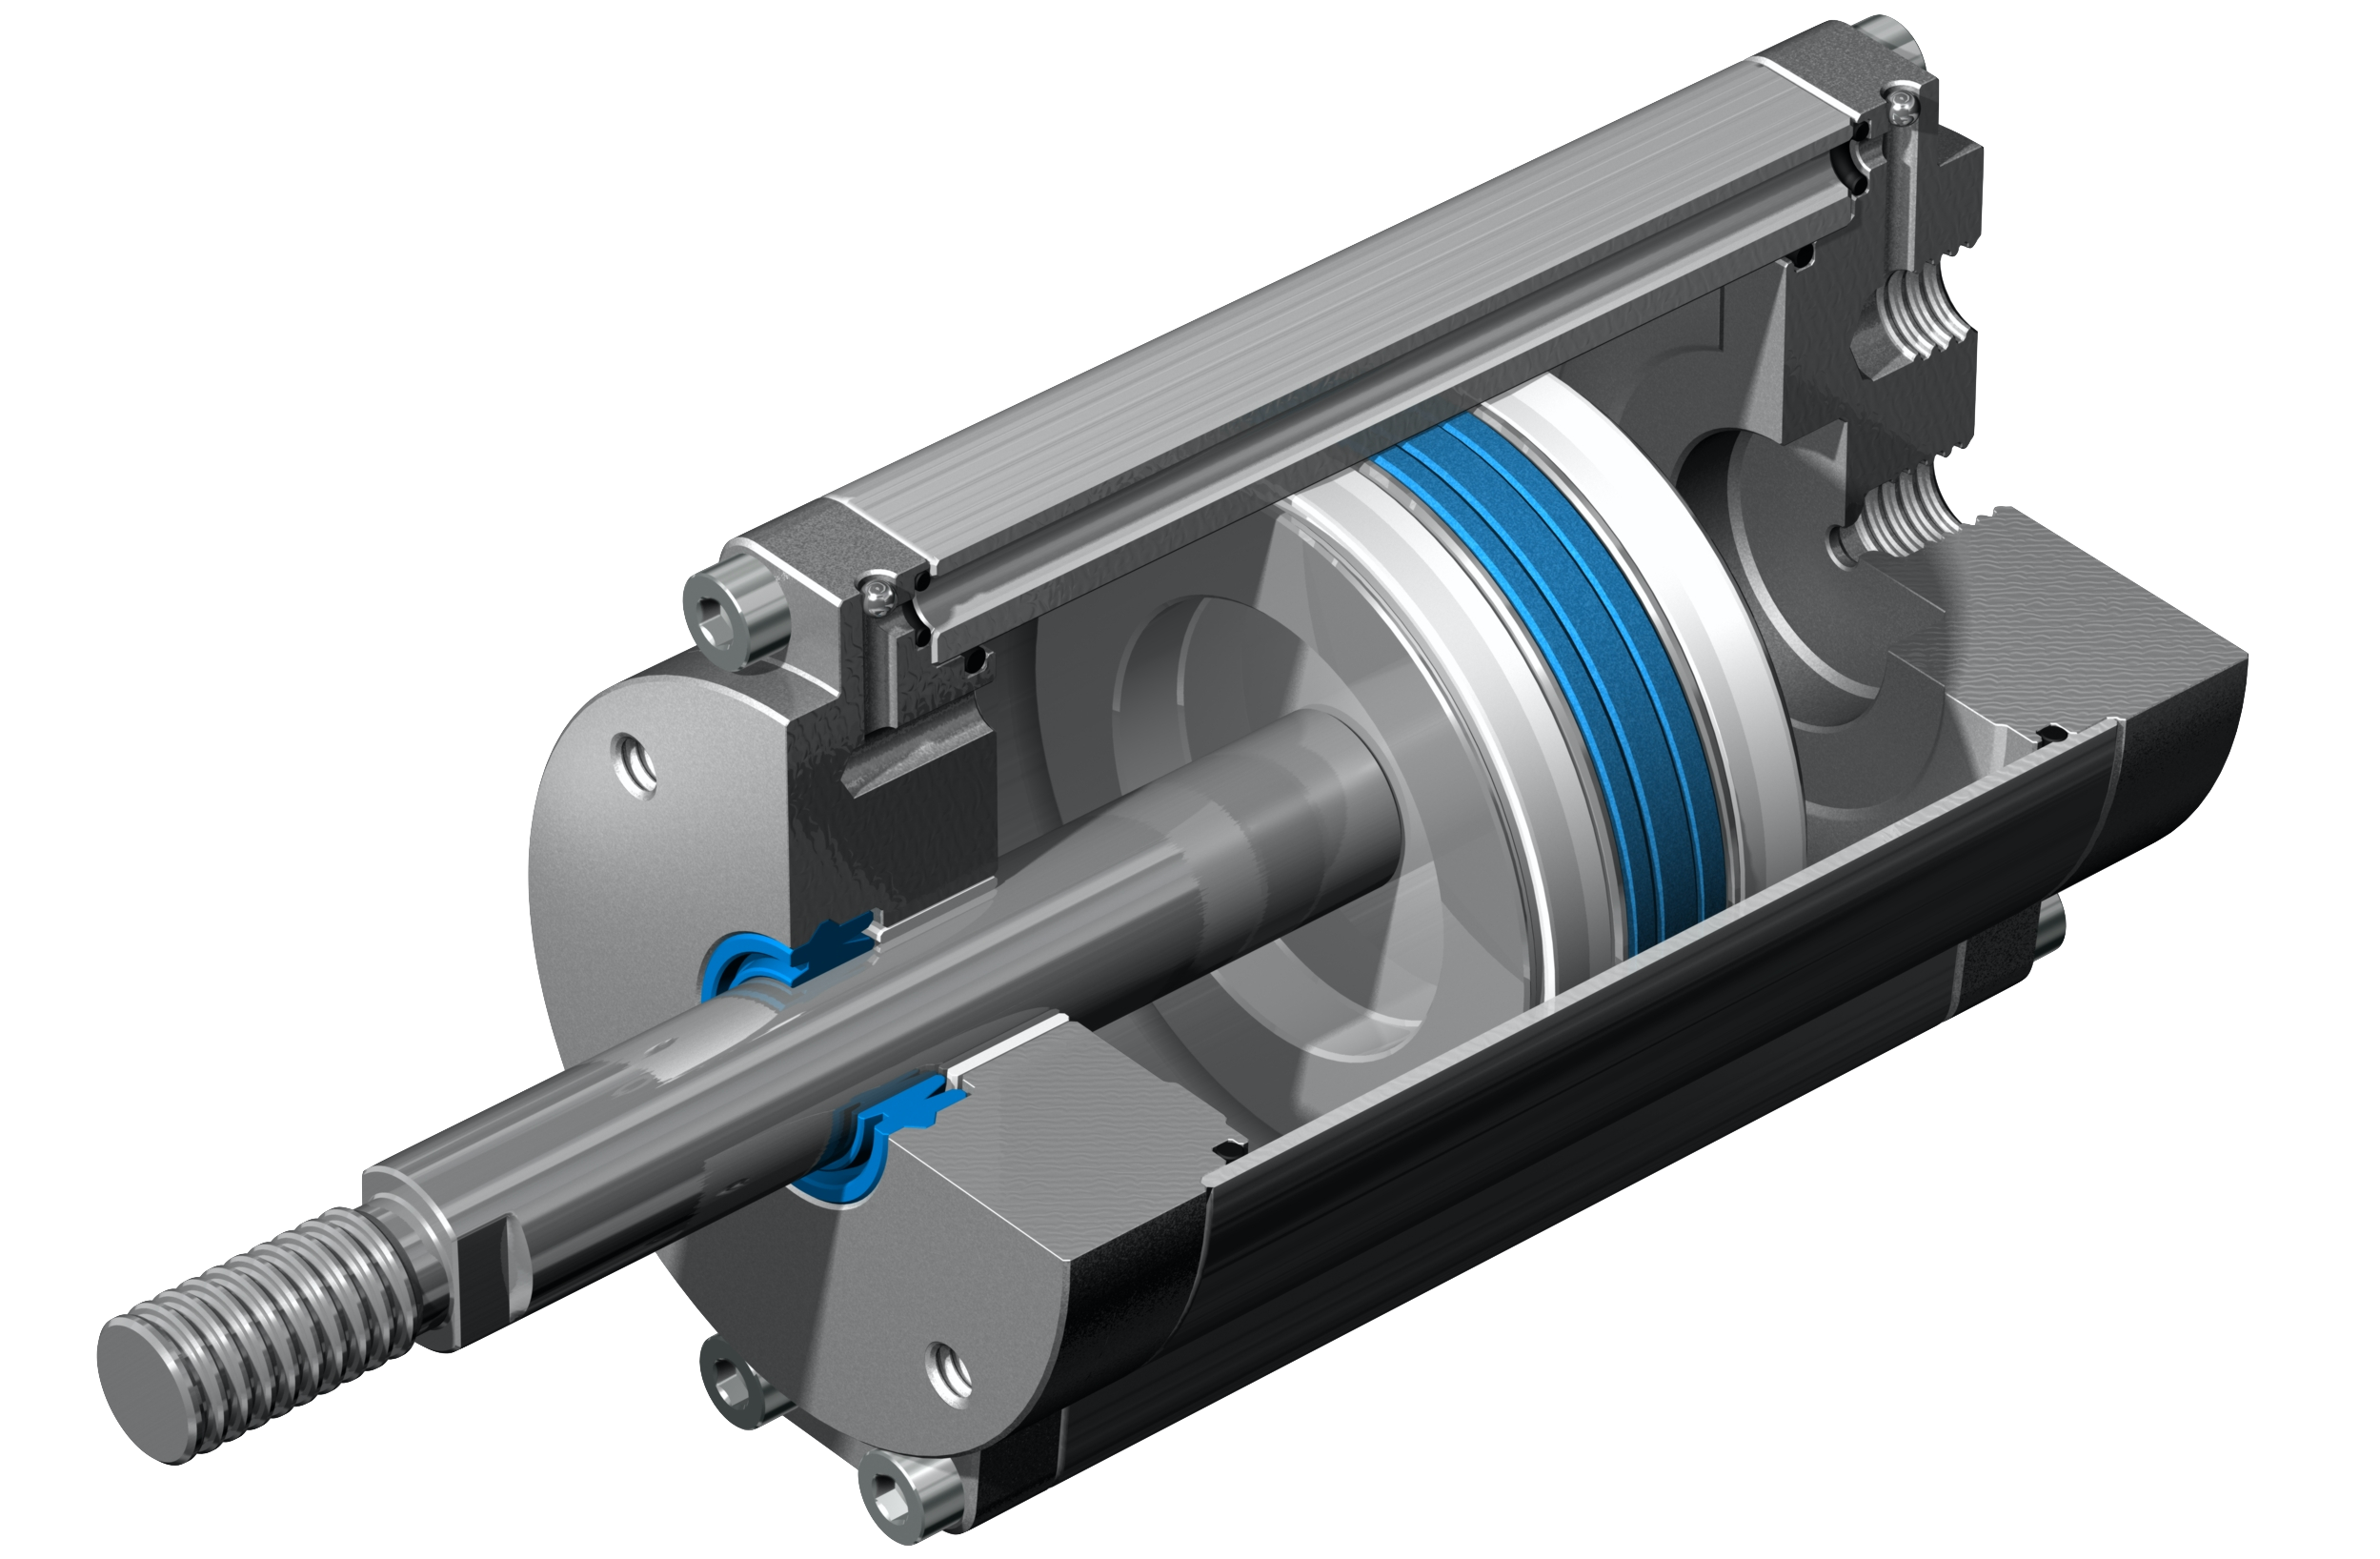
- You have probably heard of hydraulics before (which is based on water pressure). Pneumatics are essentially the same but with air pressure.
- Unlike motors and gears which are commonly infinitely positional, pneumatic cylinders are typically dual-positional or sometimes tri-positional.
- Pneumatic cylinders are actuated through devices called solenoids.
- Solenoids are used to control pneumatic pistons (air cylinders) similar to how Talons control motors.
What Are Solenoids#
- Cylinders are actuated with either single solenoids or double solenoids.
- A single solenoid actuates with one air line, using air to switch to and hold the extended state and releasing air (sometimes paired with a spring) to allow the cylinder to return to the retracted state.
- A single solenoid valve has one solenoid, and shifts when voltage is CONSTANTLY supplied to that solenoid. When voltage is removed, it shifts back to a "home" position.
- A double solenoid actuates with two air lines, using air to switch and hold states between retracted and extended.
- A double solenoid has two solenoids, and when voltage is supplied to one (and not the other) the valve shifts.
- Solenoids are connected to the Pneumatics Control Module (PCM)
- The PCM is connected to the roboRIO via the CAN bus.
Programming Solenoids#
For this section we are going to create a new subsystem called shooter and add one pneumatic piston (cylinder) which will be used for changing the pitch of the shooter.
What will be added to the Shooter subsystem#
1)
- Create a new Shooter subsystem.
- It will be controlled through a double solenoid.
- We are going to create a DoubleSolenoid named pitchSolenoid.
- DoubleSolenoids have 2 controllable positions (deployed(forward) and retracted(reverse)).
- The DoubleSolenoid constructor takes 2 parameters - (new DoubleSolenoid(port1, port2) )
- Port 1 and Port 2 refer to Forward control and Reverse control ports on the PCM.
- Like all ports we use, we will store this in the RobotMap.
2) Create your DoubleSolenoid named pitchSolenoid now using the same technique used to create a talon but replacing Talon with DoubleSolenoid. (For single solenoids just use Solenoid).
Example
Your full Shooter.java should look like this
package frc.robot.subsystems;
import edu.wpi.first.wpilibj.DoubleSolenoid;
import edu.wpi.first.wpilibj.command.Subsystem;
import frc.robot.RobotMap;

/**
* Add your docs here.
*/
public class Shooter extends Subsystem {
    // Put methods for controlling this subsystem
    // here. Call these from Commands.
    DoubleSolenoid pitchSolenoid = null;

    public Shooter() {
       pitchSolenoid = new DoubleSolenoid(RobotMap.SHOOTER_PITCH_SOLENOID_DEPLOY, RobotMap.SHOOTER_PITCH_SOLENOID_RETRACT);
    }

    @Override
    public void initDefaultCommand() {
    // Set the default command for a subsystem here.
    // setDefaultCommand(new MySpecialCommand());
    }
}
The code you typed in Robot.java should be this
Outside robotInit
public static Shooter m_shooter = null;m_shooter = new Shooter();The code you typed in RobotMap.java should be this
// Solenoids
public static final int SHOOTER_PITCH_SOLENOID_DEPLOY = 0;
public static final int SHOOTER_PITCH_SOLENOID_RETRACT = 1;
Creating Pitch Up/Down Methods#
1) Create a public void method called pitchUp.
2) Inside type:
pitchSolenoid.set(Value.kForward);- This sets the value of the solenoid to forward (deployed) !!! Note if you wanted multiple solenoids to deploy at the same time also have them do .set(Value.kForward);
3) Do the same for the pitchDown method but change kForward to kReverse.
Example
The code you typed should be this
public void pitchUp(){
   pitchSolenoid.set(Value.kForward);
}

public void pitchDown(){
   pitchSolenoid.set(Value.kForward);
}
Creating The Commands to Use Pneumatics#
Creating Deploy/Retract Instant Commands#
- Now that we have created the methods we must create commands to use them.
- Since changing the state of a solenoid only requires us to send a signal once (not continuously) we will create an InstantCommand instead of a Command
- InstantCommands work the same as regular commands but hide everything except for initialize(). (InstantCommand extends Command)
- Internally, they set isFinished to return always true so execute never runs.
1) Create a new InstantCommand called ShooterUp
- Alternatively: Create a regular Command and set isFinished to true
2) In the constructor adds requires(Robot.m_shooter)
3) In initialize() add our newly created method pitchUp method
4) Repeat steps for ShooterDown command but change pitchUp* to **pitchDown
Example
Your full ShooterUp.java should look like this
package frc.robot.commands;

import edu.wpi.first.wpilibj.command.InstantCommand;
import frc.robot.Robot;

/**
* Add your docs here.
*/
public class ShooterUp extends InstantCommand {
    /**
    * Add your docs here.
    */
    public ShooterUp() {
       super();
       // Use requires() here to declare subsystem dependencies
       // eg. requires(chassis);
       requires(Robot.m_shooter);
    }

    // Called once when the command executes
    @Override
    protected void initialize() {
       Robot.m_shooter.pitchUp();
    }
}
Your full ShooterDown.java should look like this
package frc.robot.commands;

import edu.wpi.first.wpilibj.command.InstantCommand;
import frc.robot.Robot;

/**
* Add your docs here.
*/
public class ShooterDown extends InstantCommand {
    /**
    * Add your docs here.
    */
    public ShooterDown() {
       super();
       // Use requires() here to declare subsystem dependencies
       // eg. requires(chassis);
       requires(Robot.m_shooter);
    }

    // Called once when the command executes
    @Override
    protected void initialize() {
       Robot.m_shooter.pitchDown();
    }
}
Mapping Commands to Buttons#
Creating Joystick Buttons#
- Now that we have created our ShooterUp and ShooterDown commands we need a way to run them.
- Lets map them to buttons on our controller!
1) Open OI.java
2) Under our created joystick we will create Button variables and assign them to a button on our joystick
3) Type:
Button D1 = new JoystickButton(driverController, 1);- This creates a new Button named D1 (D representing driverController and 1 representing the button number) and sets it as a JoystickButton on the controller ‘driverController’ and button value 1 (this can be found in the Driverstation software).
4) Do this for the rest of the buttons on your controller.
Example
Your full OI.Java should look like this
package frc.robot;

import edu.wpi.first.wpilibj.Joystick;
import edu.wpi.first.wpilibj.buttons.Button;
import edu.wpi.first.wpilibj.buttons.JoystickButton;

/**
* This class is the glue that binds the controls on the physical operator
* interface to the commands and command groups that allow control of the robot.
*/
public class OI {
   public Joystick driverController = new Joystick(RobotMap.OI_DRIVER_CONTROLLER);

   Button D1 = new JoystickButton(driverController, 1);
   Button D2 = new JoystickButton(driverController, 2);
   Button D3 = new JoystickButton(driverController, 3);
   Button D4 = new JoystickButton(driverController, 4);
   Button D5 = new JoystickButton(driverController, 5);
   Button D6 = new JoystickButton(driverController, 6);
   Button D7 = new JoystickButton(driverController, 7);
   Button D8 = new JoystickButton(driverController, 8);
   Button D9 = new JoystickButton(driverController, 9);
   Button D10 = new JoystickButton(driverController, 10);
}
Mapping Joystick Buttons#
- Now that we have created the buttons in the code we can map certain commands to them.
1) Create a constructor for OI
2) In the constructor type:
D1.whenPressed(new ShooterUp());- This means when the button D1 is pressed it runs the ShooterUp command and deploys our pneumatic piston.
- There are other types of activations for buttons besides whenPressed like: whenRelease, whileHeld, etc.
3) Create a whenPressed button for ShooterDown as well
Example
The code you typed should be this
public OI(){
   D1.whenPressed(new ShooterUp());
   D2.whenPressed(new ShooterDown());
}
Tip
You can change your import at the top of the file from:
import frc.robot.commands.ShooterUp; to
import frc.robot.commands.*;
The asterisk (wildcard) makes it so all files in the .command package (folder) are imported. This way you only have to import once.